If you do not use one of the LMS systems that DataClassroom supports, you will want to manually enter your classes into DataClassroom.
Follow the next three steps to quickly create a class, and add students to the class.
1. Create a Class
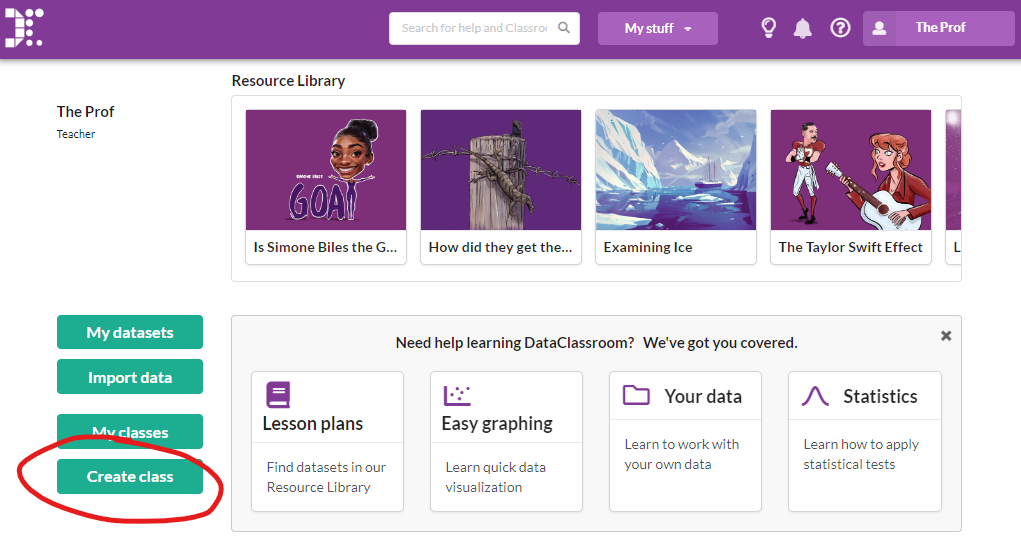
From your account dashboard, find the Create Class button on the left side of your screen.
2. Add initial members to a class by email address
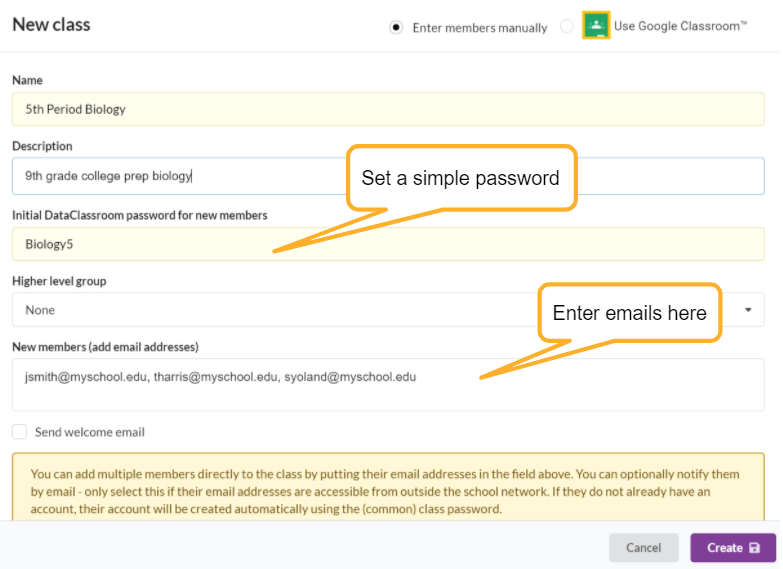
First, select 'Enter members manually' in the dialog header.
In the pop-up window you will find several spaces to enter information. Start by giving your class a name. Choose a simple password like 'password' or the class name and period to start. Then enter your students' email addresses in the 'New members' space. You can add an entire class roster at once by copying your student email addresses from any spreadsheet and pasting in the entire list. It is not necessary to add students one at a time.
3. Create your class
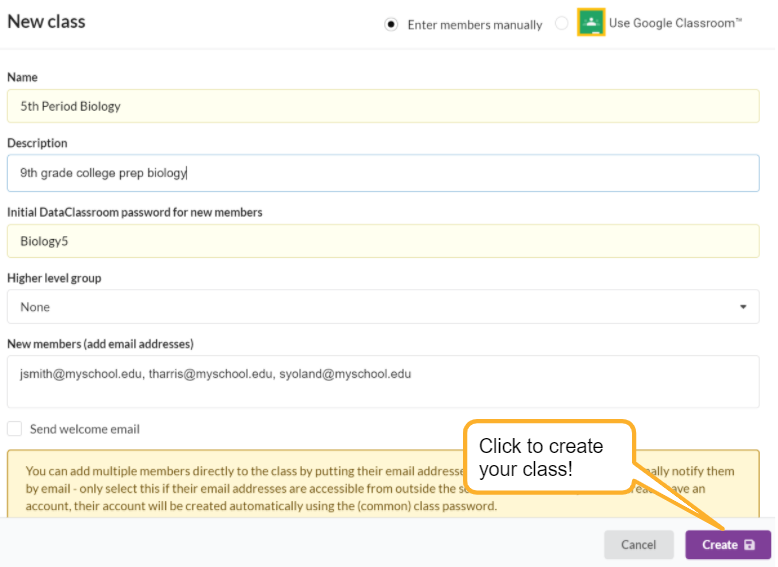
The final step is to click the Create button in the lower right corner of the pop-up window.
Reviewing your classes
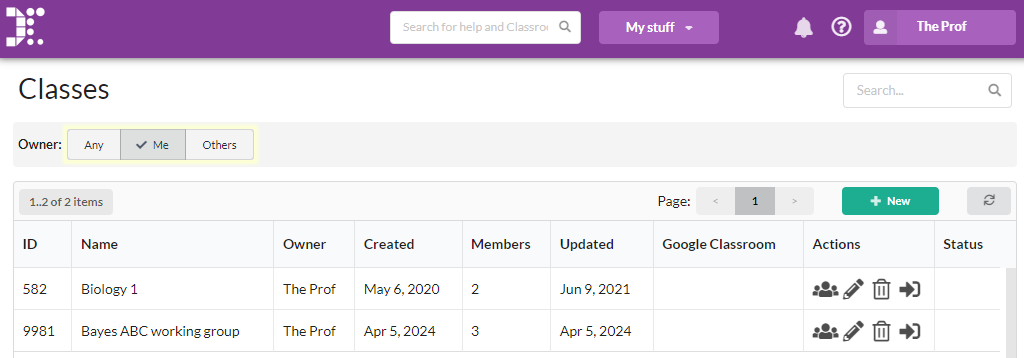
You can see a list of all your classes, and those you are a member of, under My Stuff->Classes. There's also a New button for creating classes from here, and you can add and remove members using the edit button.
Adding students by Join Code
If you Edit a class (the pencil icon in the list above) you will see the class Join Code in the top-right of the dialog:

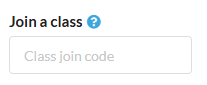
Students can then use this code to join the class by typing it into the box on their dashboard:
Class admins and co-teachers
To add a co-teacher, first add them as a member of the class. Then you can select them to be an "admin" who will also be able to manage class members, share datasets with the class, etc.
See also
If you need further assistance, the following video tutorial will walk you through the steps.